Do you like granola? I like granola. But I hate paying £4 for a box with 3 pieces of walnut and one cranberry. If you’re with me, join me by making your own! And might I suggest you give my granola recipe a try…
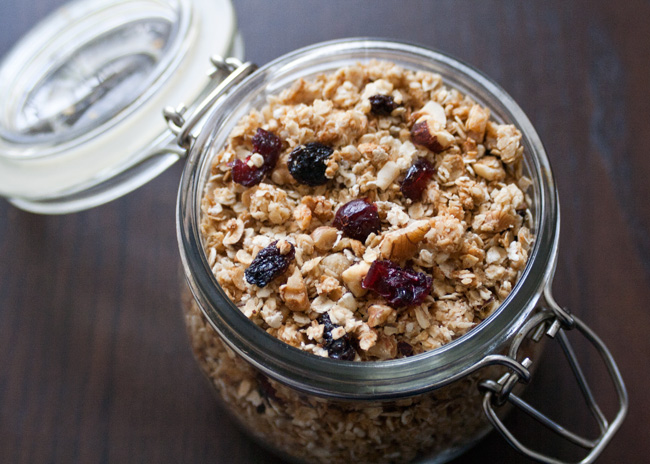
It’s really easy to scale your granola making up or down. You can also create your very own granola blend. Once you have the proportions down, anything is possible. Mine is lightly sweetened, but you can amp it up to your taste. More sweetener will also give you bigger clusters. For a vegan version, sub in maple syrup – but use less, as maple syrup tends to taste sweeter.
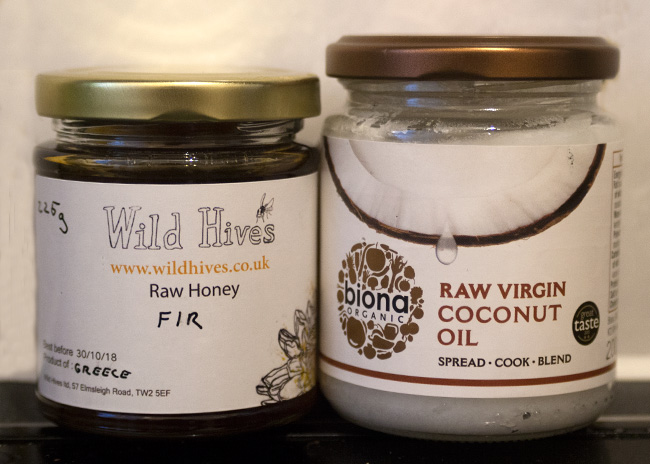
You can use different kinds of nuts, too. I’ve made it with hazelnuts and pecans, Brazil nuts and walnuts, and have even gone as far as a three-nut combo. Crazy, I know.
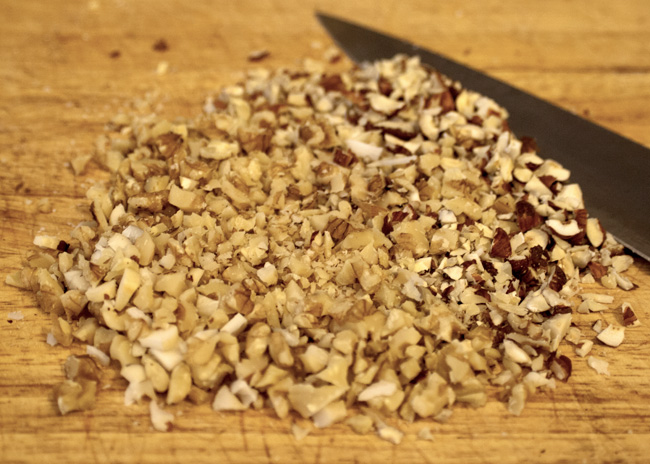
Add in your own flavorings – a sprinkle of cinnamon or a few drops of vanilla go a long way. Get creative with your crunchy granola self!
Once you have a vat of toasted granola, you might wonder what to do with it besides shoving it straight into your mouth.
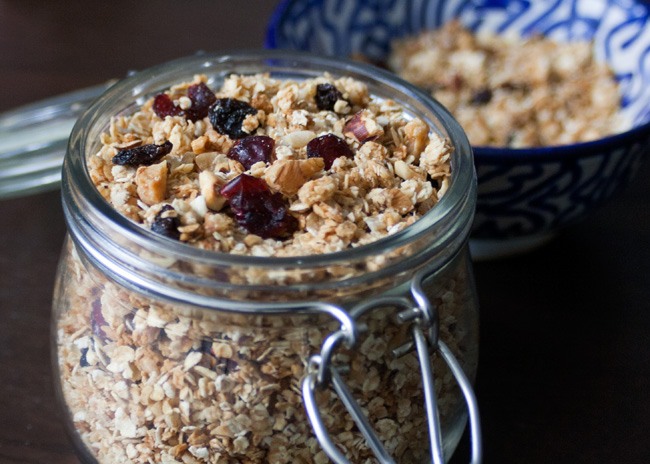
Sprinkle that sweet, nutty, homemade granola on top of plain (full fat obviously) Greek yogurt with jam. Sometimes I go off the deep end into DIY territory, but hear me out. You can turn that yogurt into any flavor you want it to be. Strawberry, apricot, blackberry bourbon… just try telling me dyed-pink yogurt sounds better.
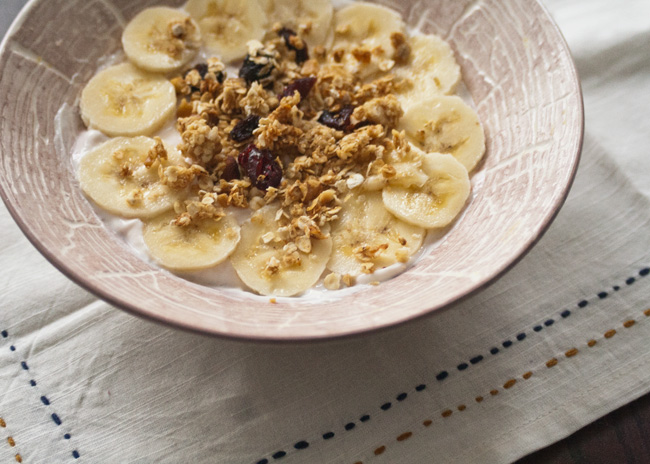
Pour some milk on it, cow or otherwise. Sprinkle it onto ice cream. Put it on a fruit crumble. Tweak your cranachan. (If you have any other suggestions, I’d be happy to try them.)
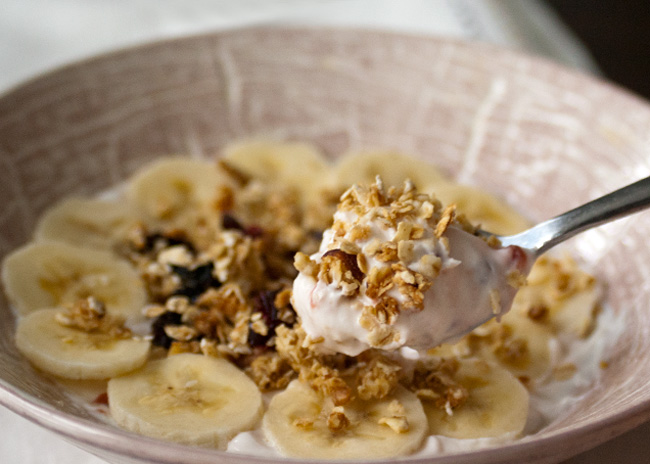
Feel like everything is out of your control? Start small with granola. Then take that slow-release energy out there and tackle the world.
On the Counter
- 200 g oats
- 75 g nuts
- 1 tbsp honey
- 1.5 tbsp coconut oil
- 75 g dried fruit
What to Do
- Optional first step: Sieve the oat dust from your oats.
- Preheat the oven to 160C/gas mark 3/325F.
- Combine the coconut oil and honey. On very low heat, melt them until the mix is thin and runny. This is especially handy if it's cool in your kitchen or your honey is crystallized. Stir to combine.
- Chop the nuts into pieces about the same size (or slightly larger than) an oat.
- In a large bowl, combine the oats and nuts.
- Drizzle the oil and honey on top, stirring the oat mix as you go. Stir until evenly coated. Dig deep!
- Spread the mix evenly onto two baking sheets.
- Bake for 10 minutes.
- Gently mix in the dried fruit and bake for another 10-15 minutes. Don't let it go further than lightly golden brown.
- Cool before storing.
- Mix your granola into yogurt, on top of ice cream, or enjoy it as a cereal with milk.
I don’t take photos of everything I cook, especially if I think it isn’t going to be something worth sharing.
Sometimes, though, at the end of the meal I’ll be disappointed that I didn’t bother getting the camera out. This week, I had a pretty good run of camera time, so here are pics of a few things I made over the past week.
Some of these will hopefully be making it into the blog in upcoming weeks!
Eggs Florentine with Dairy-Free Hollandaise
Sirloin (Delmonico) Steak topped with Chimichurri Sauce, plus a Salad with Lemon Vinaigrette
Crispy Hash Browns with Truffles
Deep Dish Truffle and Goat Cheese Pizza
pizza base from the serious eats food lab
Chocolate Raspberry Cupcakes
from serious eats
Slightly-Spicy Tomato Sauce with Shrimp and Mushrooms
Sour Cream and Chive Biscuits
from spoon fork bacon
It was a busy week in the kitchen!
]]>
Pancakes! It’s time for pancakes! I love lazy weekend breakfasts, and spending time cooking something more like brunch than breakfast before getting started on a full afternoon of … whatever it happens to be.
On an Olympics weekend, I was in the mood for American-style pancakes. But with a valiant attempt at being pre-vacation healthy, these were whole wheat walnut pancakes. You could just as easily make them with white flour, though the proportions are slightly different.
Because I was sharing breakfast with someone who is lactose intolerant, I tried my hand at lactose-free pancakes. Luckily, the milk proportions are exactly the same.
This was a hearty, yummy breakfast. Whole wheat doesn’t usually offer as much fluff as white flour pancakes, which is worth bearing in mind. However, we both ate them ravenously, and I’d wished I’d made more!
Serves: 4 people; or 16 pancakes. (I halved this recipe, and we ate 4 pancakes each.)
On the Counter:
2 cups (130 g) whole wheat flour
1/2 cup (50 g) chopped walnut pieces
4 tsp (18 g) baking powder
1/2 tsp (1.5 g) salt
2 tsp (9 g) cinnamon
2 (9 g) tsp sugar
2 large eggs
2 cups (130 ml) lowfat milk
2 tsp (9 ml) vanilla
1 tbsp (25 g) butter (or butter substitute)
What to Do:
Drop the butter onto your griddle or flat frying pan, put aside.
Sift dry ingredients (flour, walnuts, salt, baking powder, cinnamon, sugar) into a bowl.
Gently add wet ingredients (everything else) and mix. Try to remove all the dry pockets, but don’t overmix! It’s ok if a few lumps escape, rather than having gummy pancakes.
Heat the griddle/frying pan. If you’re using a frying pan on the stove, put it to medium heat.
Once the butter is melted, swirl it around, and pour one ladle of batter into the center of the pan. Try to thin out the pancake by pouring gently. If you end up with a slightly uneven pour, don’t worry. If you move fast, you can flatten it out with the bottom of your ladle.
After the top of the pancake stops looking completely liquidy, (about 2 minutes), gently slide your spatula underneath and flip it. If it sticks, it’s probably not ready yet. Cook the other side for about 1 minute, but check on it by pulling up the edge slightly with your spatula.
Place your pancakes on a plate that’s been covered with a paper towel, so it doesn’t get soggy.
As is generally true with pancakes and crepes, the first one is usually a bit imperfect. Once you get the hang of pancakes, it’s usually not inedible, just not as perfect. But if your first pancake looks like a disaster, don’t worry! It’s just a part of the process.
We ate our pancakes with a bit of butter/spread and real maple syrup while watching Andy Murray work his way to a gold in tennis.
]]>
Eggs are pretty fantastic. There are so many ways to cook them, and they have so many uses. Some of my favorite desserts are egg-based, which probably comes from growing up in a Portuguese family where we’d eat lots of custards, eggy bread (like pão de ló, made with 9 eggs) and puddings.
But even though I frequently have them for breakfast, and love them for dessert, they just don’t seem to make it onto my lunch menu. It’s even a rare occasion for me to have a hard boiled egg on a salad.
A summery Sunday afternoon seemed the right time to change that. The original inspiration was a craving for baked eggs, but with no interest in turning on the oven and a streak of impatience, I decided to switch to skillet eggs.
Skillet eggs can come in all sorts of combinations, and if you have some pre-made sauce handy, they’re even quicker! I recommend keeping the sauce simple; you don’t want to overpower the eggs.
It was the perfect day to have lunch in the garden, where I could enjoy some of the bounty of my overfilled cupboards and sit with the potted herbs lining the fence.

Serves: 2
On the Counter:
the sauce:
1 can (14.5 oz/400 g) of chopped tomatoes
1/2 medium white onion, diced
1 medium clove garlic, minced
1 tablespoon (17 ml) balsamic vinegar
1 tablespoon (17 g) demerara sugar
2 tablespoons (34 ml) olive oil
the eggs:
4 large eggs
chopped fresh basil and parsley
salt and pepper
8 inch/20 cm skillet/frying pan
What to Do:
The sauce: Heat olive oil in skillet, on medium heat, until it shimmers. Add onion, cook until soft and translucent. Add garlic, cook for 2 minutes.
Pour in can of tomatoes, stirring the garlic, onion and oil into the tomato sauce. Turn heat up to high, and stir occasionally, until the tomato sauce starts to bubble. Cook for 5 minutes.
Add balsamic vinegar, sugar and season with salt. Stir to combine. Once the sauce has thickened a bit (to your taste), make an egg-sized well in the sauce with a big spoon. Crack the egg into the well. Repeat for each egg.
Cook the eggs on medium heat until they’re cooked to your taste. About 5-6 minutes leaves you with a runny yolk but a firm white, which is my preferred way to eat them.
Once they’re finished, spoon an egg + sauce into a small bowl. Garnish with freshly chopped herbs. This goes really nicely with a bit of buttered bread on the side, which you can use to dip into the tomato sauce.
These eggs are an easy and filling lunch meal that still leaves room for dinner!
]]>
What better way to start a new cooking blog than with breakfast!
I love having a weekend morning that I can dedicate to stretching my breakfast into brunch. While a weekday’s breakfast might be a bowl of oatmeal or Greek yogurt and fruit, weekends offer the opportunity for pancakes, baked eggs or French toast.
French toast is something that I haven’t made in the year+ I’ve been living in London. I wish I had a good reason for it, but I was really just too into sharing the joys of American pancakes to even consider French toast. Some weekends, though, I just need a break from carbs for… a different type of carbs.
What many people know as French toast is actually called Pain Perdu in France (and quite a few other French-speaking places) and it’s a slightly different style than French toast. Where French toast is exclusively cooked on a griddle or in a skillet, pain perdu is often baked. And while French toast is usually served with butter and syrup, pain perdu is served with honey, creme anglaise, fruit, or even jam.
As a first-timer, I kept it simple with a bit of butter and honey. Next time: summer berries. The nearly-lost bread was a sourdough baguette left over from dinner. It worked nicely, though it requires a lot more soaking time than sliced bread with a wider surface area.
I liked this recipe a lot because it’s baked rather than fried, and there’s much less risk of having bread that tastes more like scrambled eggs than it does custard.
Now, on to the recipe!

Serves: 4, with 5 pieces each
On the Counter:
- 20 slices of baguette
- 2 large eggs, lightly beaten
- 1 tablespoon (15 g) sugar
- 1/2 cup (120 mL) milk
- 1/2 teaspoon (2.5 mL) vanilla extract
- salt to taste
- butter, honey or other topping of choice
What to Do:
Preheat oven to 205°C/400°F. Butter an oven-proof dish or cookie sheet. In a bowl, beat the eggs together with salt, sugar, milk, and vanilla.
Pour into a large, flat-bottomed dish. Put the bread slices into the dish to soak up some of the egg mixture.
Turn them over with a spatula, letting them soak long enough to have taken in the mix, but not so long that they begin to fall apart. (It took me about 1 minute per side, with a little bit of squishing, but my baguette was quite dense.)
Gently move the soaked bread slices to the buttered dish/sheet. Spoon any of the remaining mixture over the slices.
Place the dish in the oven. Bake for 20 minutes total. After the first 10 minutes, turn the slices over so they brown evenly on both sides.
Serve immediately with your toppings of choice.
It looks amazing straight out of the oven. Golden, sweet and ready to be eaten. It was hard to wait to get them to the table!
]]> Save Recipe


